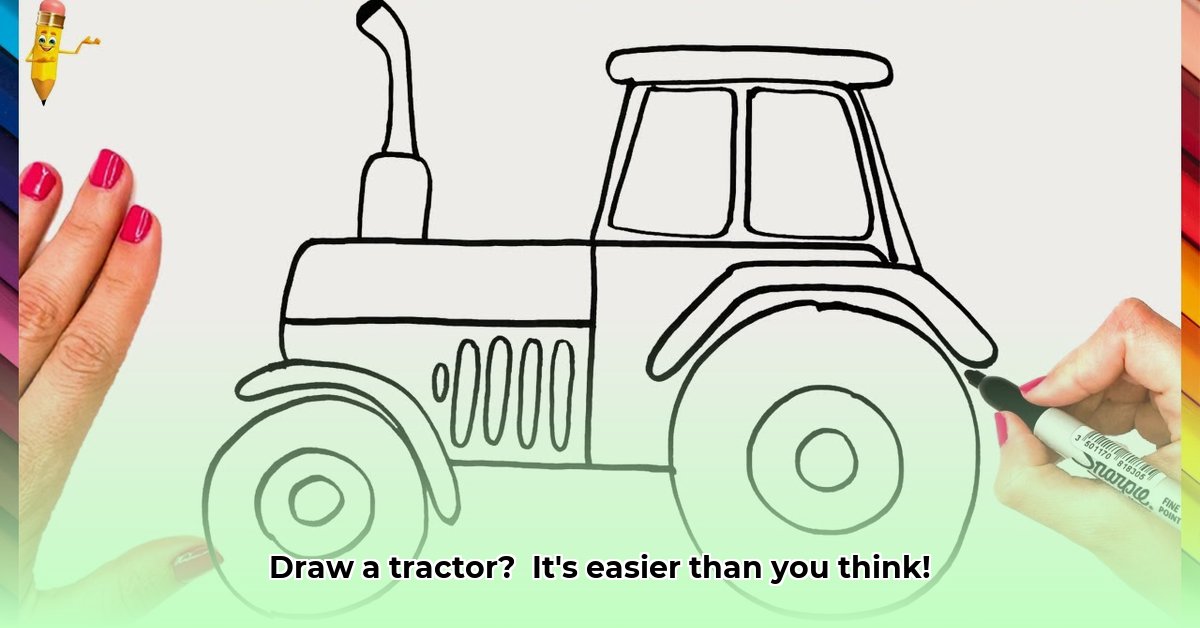
Beep beep! Let's draw a super-cool tractor! Even if you think you can't draw, you totally can. This is going to be fun and easy. We'll do it step-by-step, so get ready to become a tractor-drawing superstar! Grab your crayons or pencils, and let's go! For more tractor inspiration, check out these cool tractor pictures.
How to Draw a Tractor Easy
Hey there, future artists! Let's create an awesome tractor together! This is going to be super fun and easy – I promise! Grab your pencils, crayons, or markers, and a piece of paper. Let's get started on this exciting drawing adventure!
Step 1: Building the Tractor's Body – The Foundation of Fun!
We'll begin by drawing the main part of our tractor – its body! Imagine a big, rectangular box, long and strong, just like a real tractor's body. Draw a rectangle. Make it as long and wide as you like! Doesn't it already look like a super cool foundation for our tractor? Great job!
![Rectangle representing tractor body]
Step 2: Adding the Wheels – Rolling Right Along!
Now, let's give our tractor some wheels so it can zoom around the farm! Underneath the rectangle you just drew, add two big, round circles. These are going to be our tractor's super strong wheels. They're going to take our tractor on many exciting adventures! See? It's already looking terrific!
![Rectangle with two circles representing wheels underneath]
Step 3: The Driver’s Cab – A Cozy Spot!
Time to add the driver's cab, the place where the farmer sits! Draw a smaller rectangle on top of the big rectangle. This is the little house where the farmer takes control! You are doing a fantastic job!
![Rectangle with two circles and a smaller rectangle on top]
Step 4: The Exhaust Pipe – Puff! Puff!
Tractors have exhaust pipes – that's where the puff of smoke comes from! Draw a straight line extending upwards from the top of the tractor's body. This is the exhaust pipe, letting out some happy tractor smoke! You’re a natural artist!
![Previous drawing with a straight line added on top for the exhaust pipe]
Step 5: Wheel Detail – Let's Make Them Realistic!
Let’s make those wheels look even more realistic! Inside each of the large circles you drew for the wheels, add smaller circles. These will add depth and make them look like real tractor tires! You are doing amazing work!
![Wheels with smaller circles inside]
Step 6: Adding the Finishing Touches – Personalize Your Tractor!
This is where you get to add your own personal touch! Let's add some final details. Maybe you want to draw a window in the cab? Or perhaps you'd like to add some lines to make the tires look bumpy and realistic? Maybe even a cool color? You can add anything you want to customize your tractor! Let your imagination run wild! Don't be shy – be creative!
![Final tractor drawing with optional added details.]
Extra Tips for Success!
Did you know that even simple drawings can tell amazing stories? Let's add some extra fun to your tractor!
| Tip | Explanation |
|---|---|
| Keep it Light and Loose | Start with light pencil lines. This makes it easy to erase and adjust if you make a mistake. |
| Embrace Imperfection | Don't worry about making it perfect! It's all about having fun and expressing your creativity. |
| Color It Up! | Once you've finished the outline, let your imagination run wild with colors! Bright colors make it extra fun! |
| Add Personality | Draw a smiling face on the tractor, or give it a name! Make it your own unique creation. |
| Practice Makes Perfect | The more you practice, the better you'll get! Keep drawing and experimenting – you’ll be surprised how quickly you improve! |
And there you have it! You've successfully drawn a fantastic tractor! Give yourself a huge round of applause! You’re a super talented artist! Now, go show off your amazing creation! Want to try drawing another one? Maybe a different color or a bigger size? The possibilities are endless! This simple method shows that even young artists can easily learn how to draw a tractor. Keep practicing, and have a blast creating!
Adapting for Visually Impaired Children
Creating art shouldn't leave anyone out! How can we make tractor drawing fun for everyone?
Key Takeaways:
- Simple shapes are key: Even young artists can master this.
- Tactile aids enhance the experience: Think textured paper or raised-line drawings.
- Verbal descriptions are crucial: Guide children through each step with clear words.
- Adapt by focusing on core shapes and textures: Fine details are less important.
- Positive reinforcement builds confidence: Celebrate every step of the way!
Let's learn to draw a super-cool tractor! This is fun for everyone, even if you can't see the pictures perfectly. We'll use easy shapes and lots of touch and feel!
Step 1: The Tractor's Body
- First, imagine a long rectangle. This is the tractor's sturdy body. Make it big!
- Use thick crayons or textured materials. They can feel the shape as they draw. Raised line tape can also help.
Step 2: The Wheels
- Now, let's add some big circles for the wheels. Make them round and chunky! You can use pom-poms or textured stickers to introduce tactile components.
Step 3: The Cab
- Next, draw a smaller rectangle on top of the big one. This is the driver's cab! Use contrasting colors to make it stand out. You could also use playdough or clay to add a 3D element.
Step 4: The Details
- Let's add fun details! Draw a small rectangle for the exhaust pipe. This step is all about having fun, not perfection! Describe each step clearly.
Step 5: Finishing Touches
- Add a line for the ground. Maybe add a sun or some clouds in the sky, using different textures for each element. Encourage exploration of tactile features.
Remember, adapting art tutorials for visually impaired children is all about making the experience fun, engaging, and accessible. Let's celebrate creativity and inclusivity!